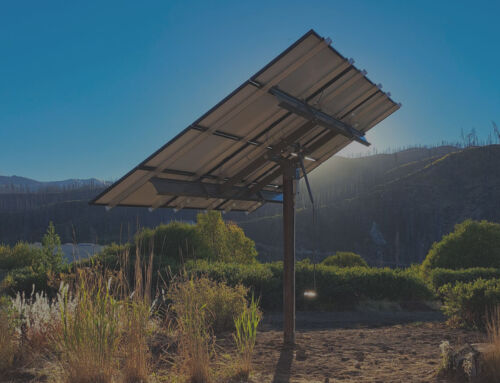
When you’re giving a customer an estimated price on a new pole mount installation, pricing can vary, and it’s important to be as accurate as you can be with the factors in front of you. A lot of this comes with time and experience and building up relationships with contractors along the way, but there are average prices that you can expect to see across the board, so your customers are as informed as possible up front.
At MT Solar, we design and manufacture mounting structures for solar modules and arrays of all sizes. Our team is dedicated to making the best pole mount solutions for installers and end users, which has been our driving force since day one.
In this article, we’re going to outline the six key factors that influence the price of a pole mount installation. By the end of the article, you’ll have a clear understanding of what impacts the final price and how, so that you can make informed decisions about each project and communicate as clearly as possible with your customer.
The six factors that impact the final cost of a pole mount installation include:
- Snow and wind loads
- Ground clearance
- Local permitting and engineering
- Groundwork and excavation
- Labor
- Steel poles and concrete
1. How Snow and Wind Loads Impact Racking Costs
Snow and wind loads can have an impact on the cost of a project in several ways. A higher tilt angle will result in heavier wind loads, and a lower tilt angle will result in heavier snow loads.
The variation in the foundation affects the amount of excavation required, as well as the amount of concrete needed. This also impacts the size of the racking and the duty classes of the mounts. The pricing here will depend on the climate and location of the installation. For example, a South Carolina installation will be very different compared to an upstate New York installation.
To determine pricing as accurately as possible as it relates to snow and wind loads, we invite you to use the MT Solar pricing calculator as a first step!
2. How Ground Clearance Impacts Racking Costs and Foundations
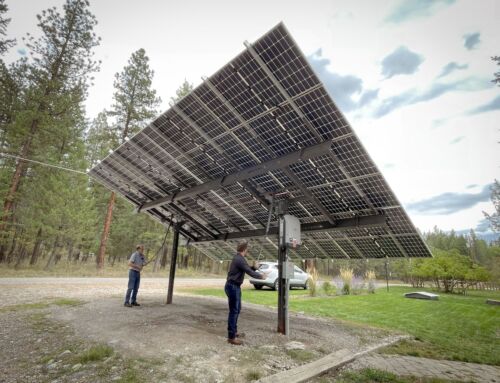
Ground clearance can vary by jurisdiction. While some locations may only require 18-48 inches of clearance, we recommend a minimum of 60 inches to get full value from the pole mount.
However, in most cases, the greater the distance, the higher the cost. Pole mounts offer more flexibility, as choosing a pole mount over a roof mount may increase the upfront cost but allows the customer to have more room and protection from wear and tear from things like lawn mowers and animals.
An MT Solar pole mount offers the advantage of ground clearance, making the long-term costs lower as the array is easier to access and maintain after installation. This means that snow can be easily removed, and if a module goes down, it can be easily replaced. This allows for ease of use for the customer, and more flexibility for installers as it does not require you or your team to return to job sites to adjust them.
3. Local Permitting and Engineering
Permitting and engineering is another factor that can impact the cost of both pole and roof mounts.
The cost can vary greatly depending on the location, with some permits costing as little as $20 and others costing up to $300 for the same permit.
While many rural areas do not require engineering, many suburban and urban areas do require it, and the pricing can run up to $700. It’s also important to know that some jurisdictions, like those across New England, require engineering on roof mounts but not on ground mounts.
As an installer, you should be very comfortable with the costs of permitting and engineering in your jurisdiction so that you can communicate that clearly to your customers.
4. Groundwork and Excavation
Groundwork and excavation are two more crucial components that contribute to the cost of a pole mount installation.
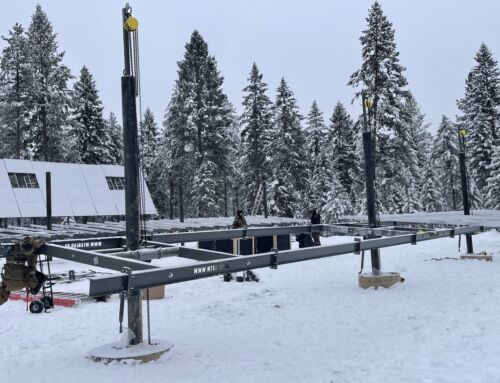
Installing a pole mount requires some groundwork, which can include: partnering with an excavator, working the ground, pouring concrete, and running a conduit, all of which can increase the cost of the installation, unlike with roof mounts, which are installed directly onto the house.
5. Labor
As an installer, you may need to hire an electrician (depending on your licensing) and an excavator in addition to the cost of installing the array itself. It’s important to call your contracted partners before quoting your customer to ensure that this cost of labor is factored into the price with no surprises. Building relationships with local excavators who understand the local terrain can also help to minimize unexpected prices.
While it can change depending on the person and location, on average, we’ve seen the labor for installations run about $60 per hour for two days, often with two workers for eight hours per day, coming in at about $2,000.
6. Steel Poles and Concrete
Finally, the fluctuating price of steel and concrete can change the overall price of your pole mount installation.
The size of the steel poles can impact the cost as well. The standard length of piping is 21 feet, and the standard configuration is 5 feet below ground and 8 feet above ground, leaving 7 feet of leftover pipe. You will also need to factor in the cost of finding someone to cut the steel into the lengths required for the project.
The amount of concrete also impacts the cost. 2.5-3 yards of concrete can run to roughly $300.
Summary: How to Estimate the Price of a Pole Mount Installation
As you increase your familiarity with pole mount projects and build up relationships it becomes much easier to provide quotes and even initial estimates.
Some of our installers have developed a system to estimate total cost per watt. For example, where a 10kW system on the roof would be roughly a $30,000 system. The price, on average, would be $4.50 per watt installed on a pole.
Are you a solar installer?
Ready to price out your next project?
Start with our pricing configurator and see if an MT Solar pole mount is a fit for your customer.

